Using Yearn's V2 Vaults
So you want to deposit into on of Yearn's V2 Vaults? Great! You are in the right spot.
But before we start, are you sure you don't want to deposit into the V3 vaults? They are new and shiny with more features. You can find that walkthrough here.
No? Ok then, keep reading for a full walkthrough on how to use V2.
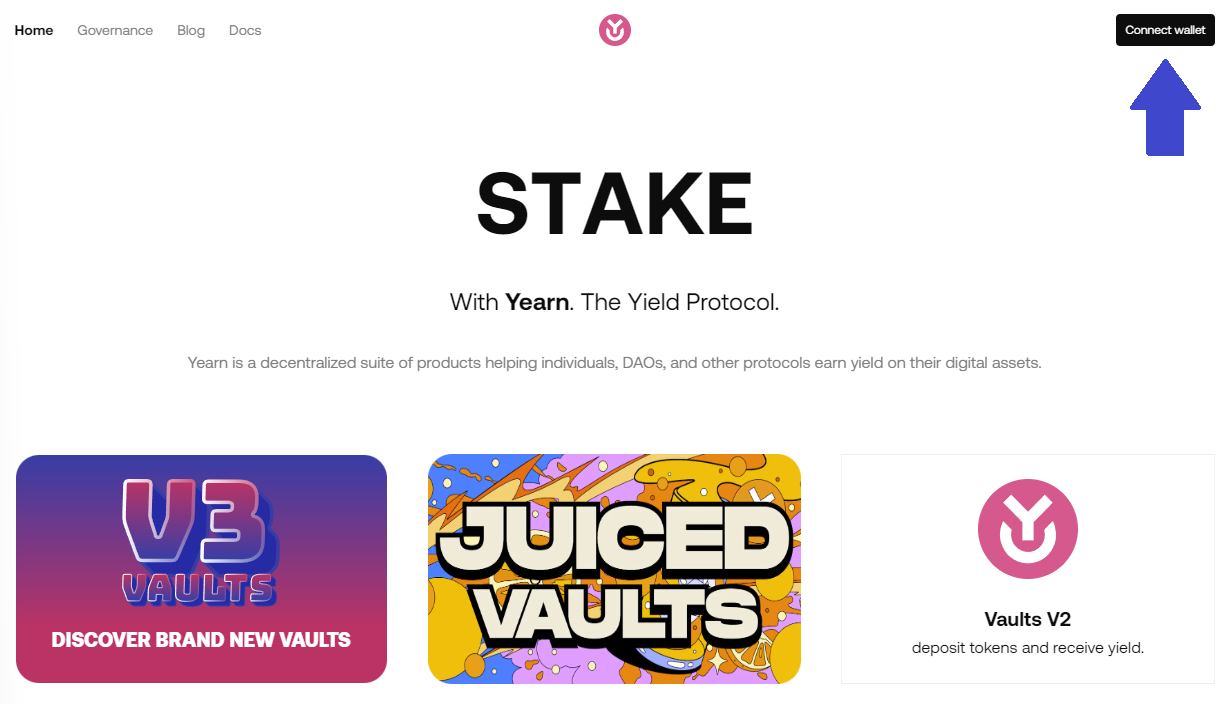
Connect Your Wallet
First, Connect your wallet using the button at the top right corner. Multiple wallets are supported, but most people use MetaMask, which can be downloaded for free as a Chrome extension or through the Apple and Android app stores. Make sure that your wallet is connected to the Ethereum network.
Navigate to the V2 Vaults
There is a big button Anon!
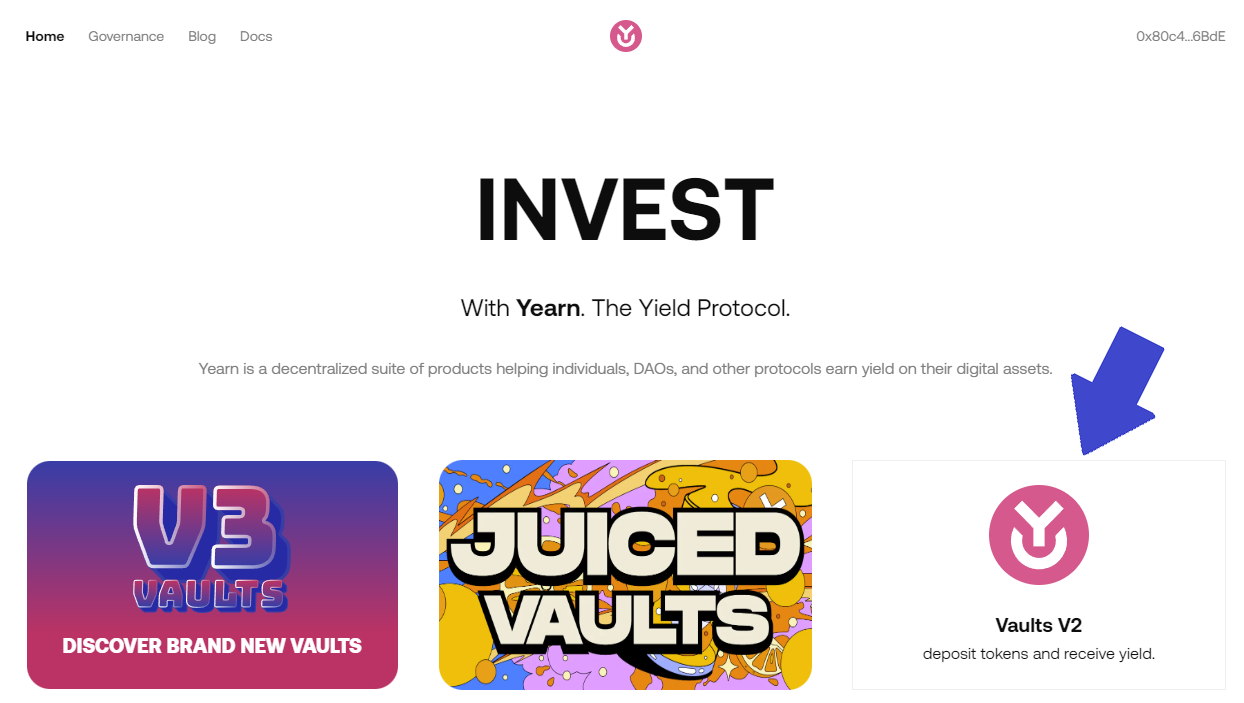
Our v2 Vaults are currently on Ethereum, Fantom, Arbitrum, Base, and Optimism with more to come. Click on this button to select the network you would like to interact with:
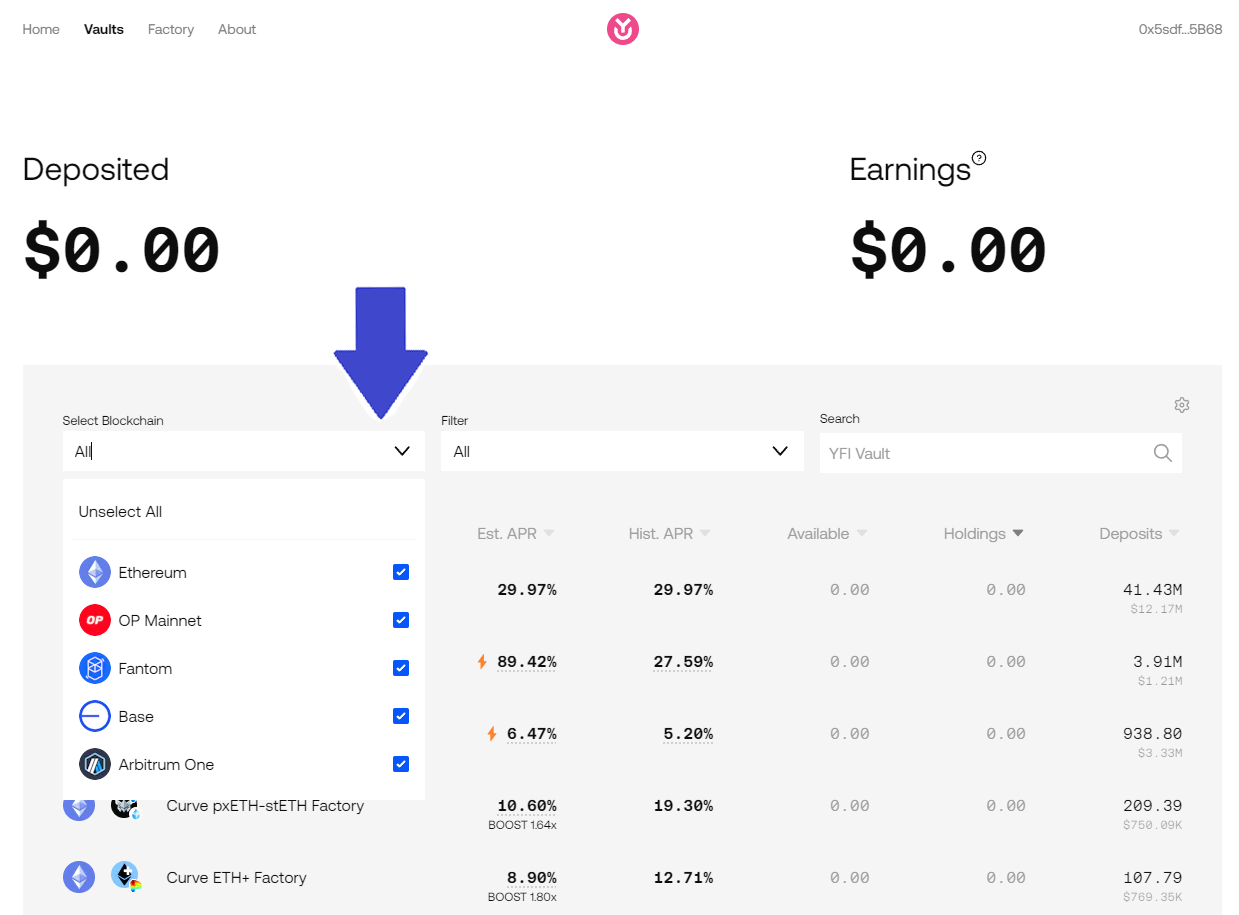
Depositing
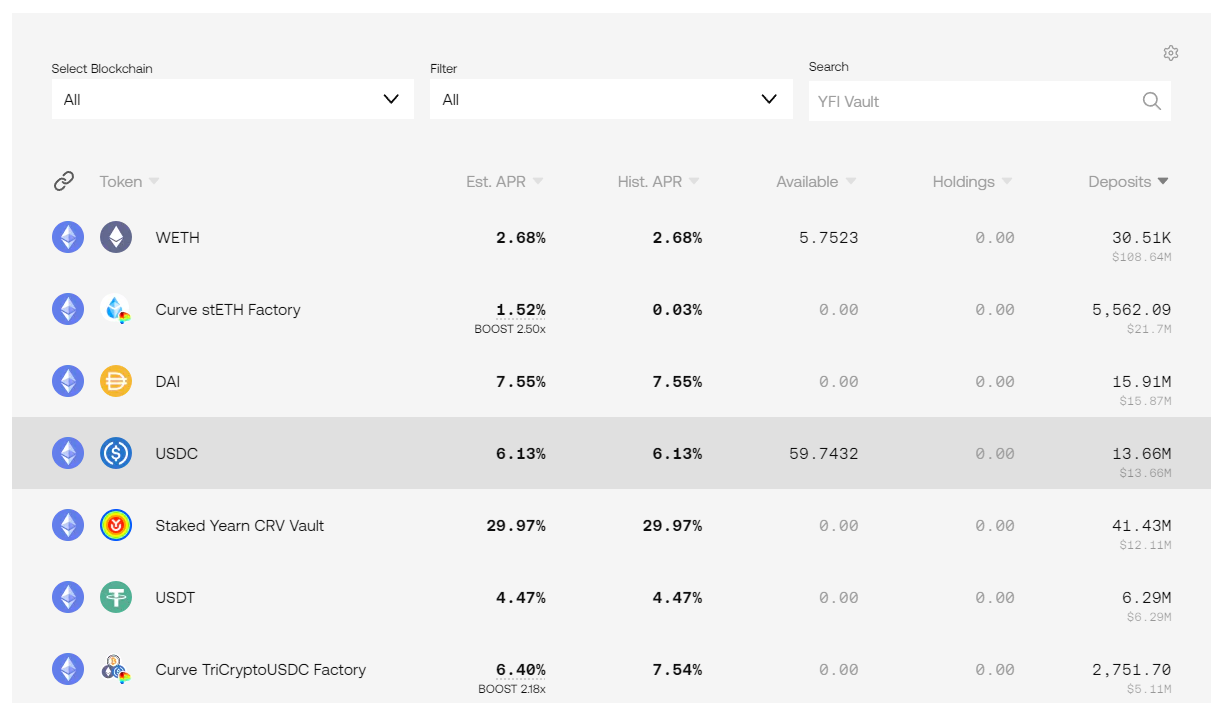
- Select the vault that you would like to deposit into. We will choose USDC for this walkthrough
- Enter the amount of tokens you want to deposit into the vault. If you are depositing ETH, ensure you have enough ETH left over to pay for future transactions you might need to make.
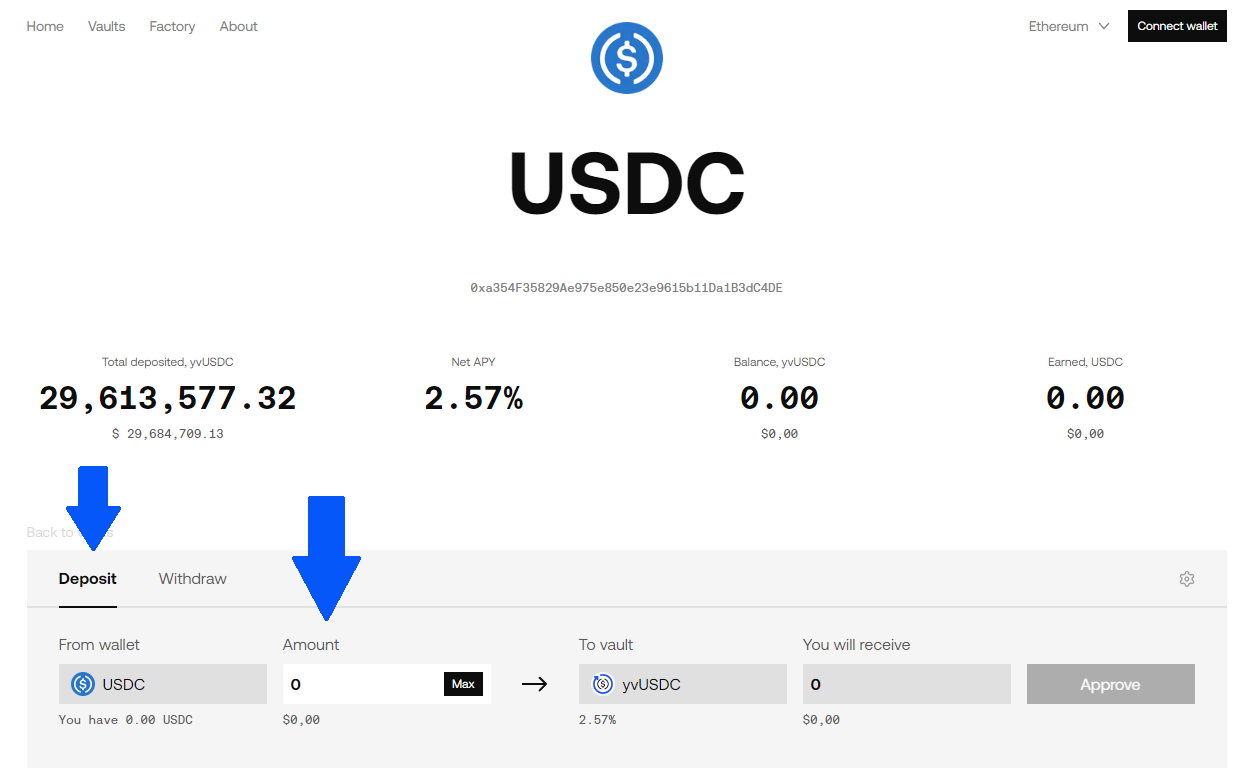
- Click the 'Approve' or 'Deposit' button, depending on if you have previously approved.
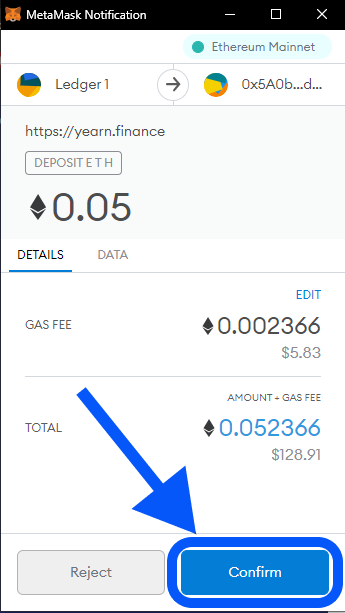
- Your wallet will ask you to confirm the transaction. It should confirm within a minute, but if your transaction gets stuck, see this guide on how to speed up or cancel the transaction.
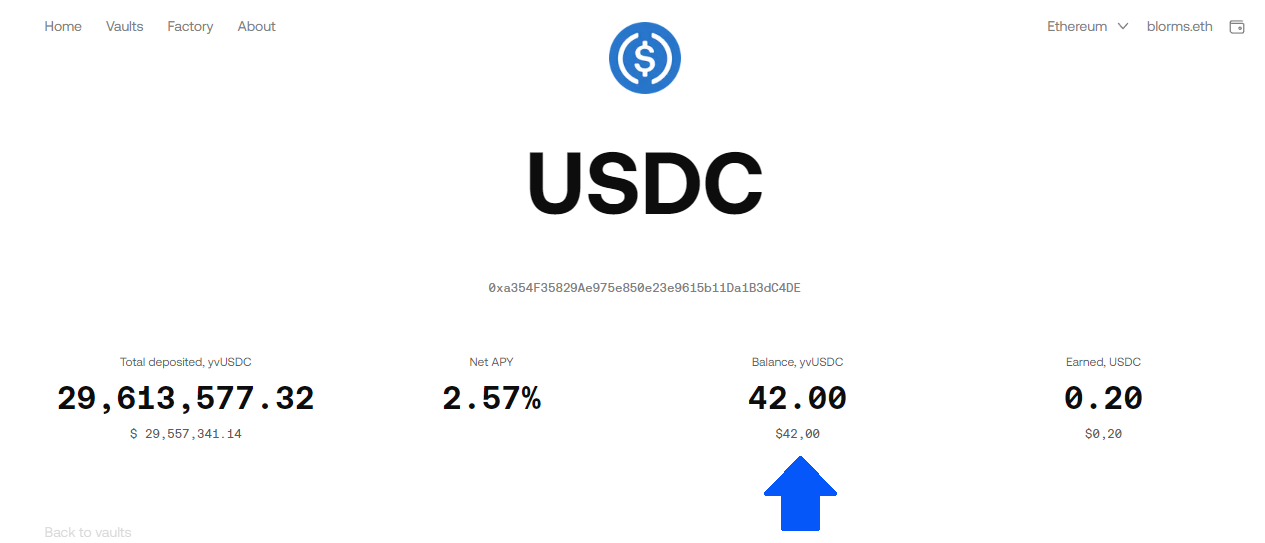
- When your transaction succeeds, you will see your deposited balance in the vault's interface, which should appear at the top of the vault list.
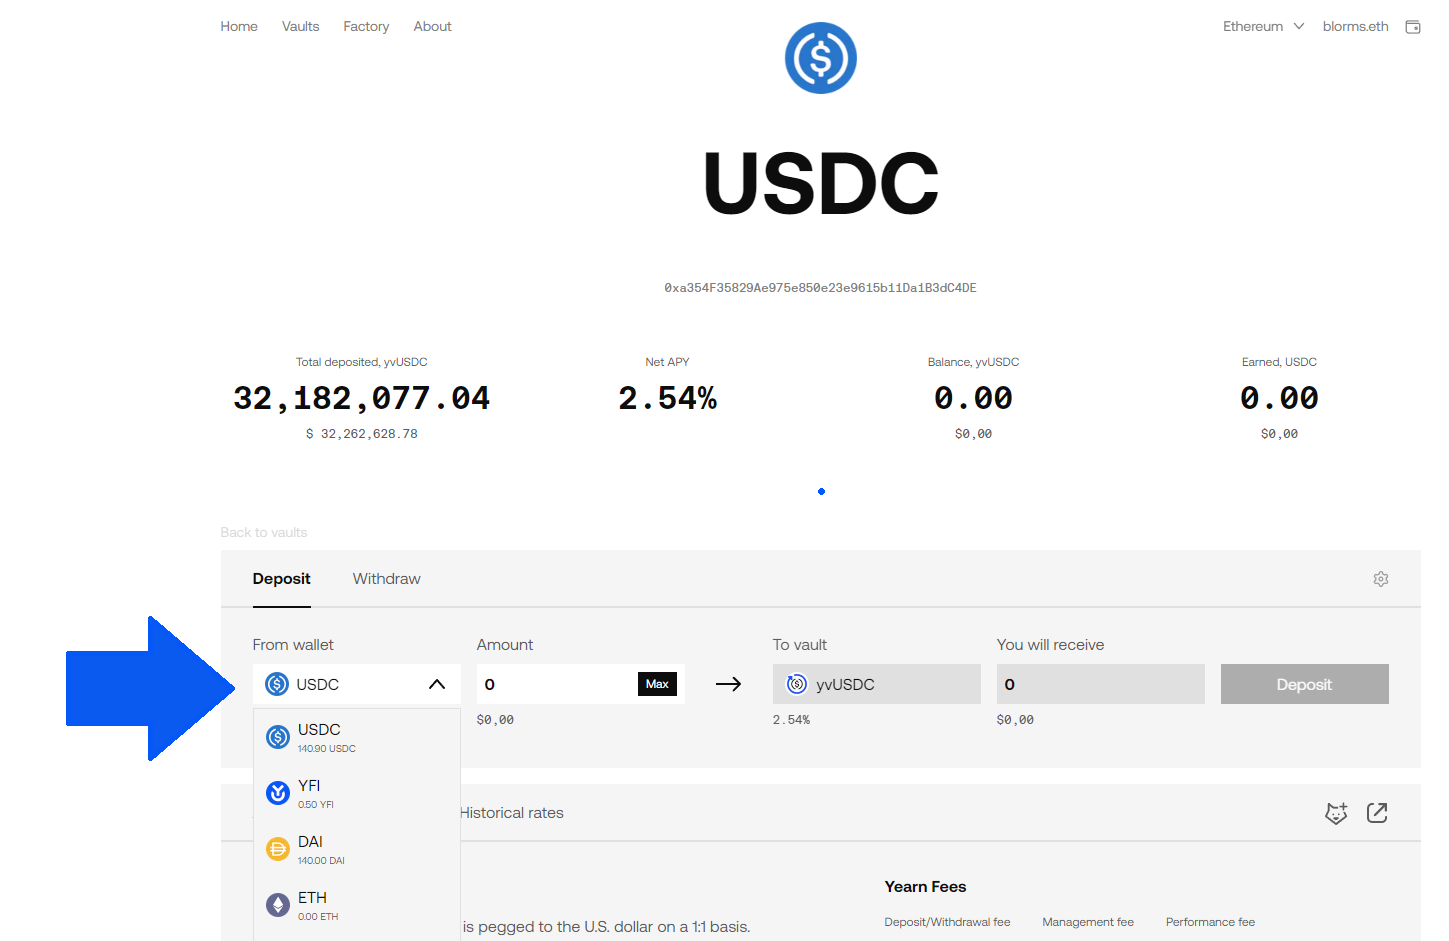
Zapping into a Vault
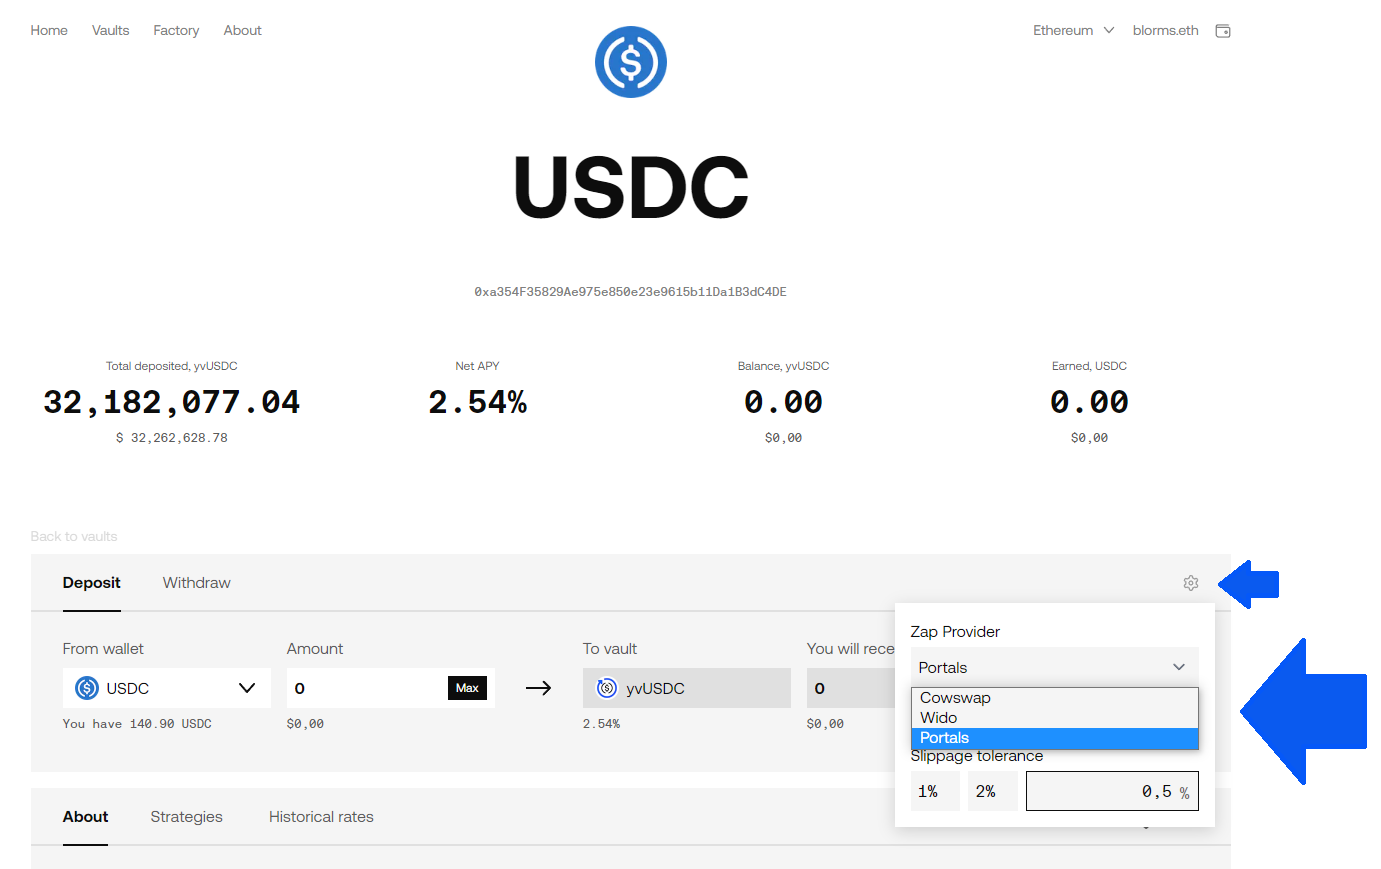
If you don't have the required token for the vault that you would like to deposit in, Yearn provides a zapping feature so you can deposit any token into any vault (zapping fees are explicit in the UI):
The Zap provider can be set on the same page:
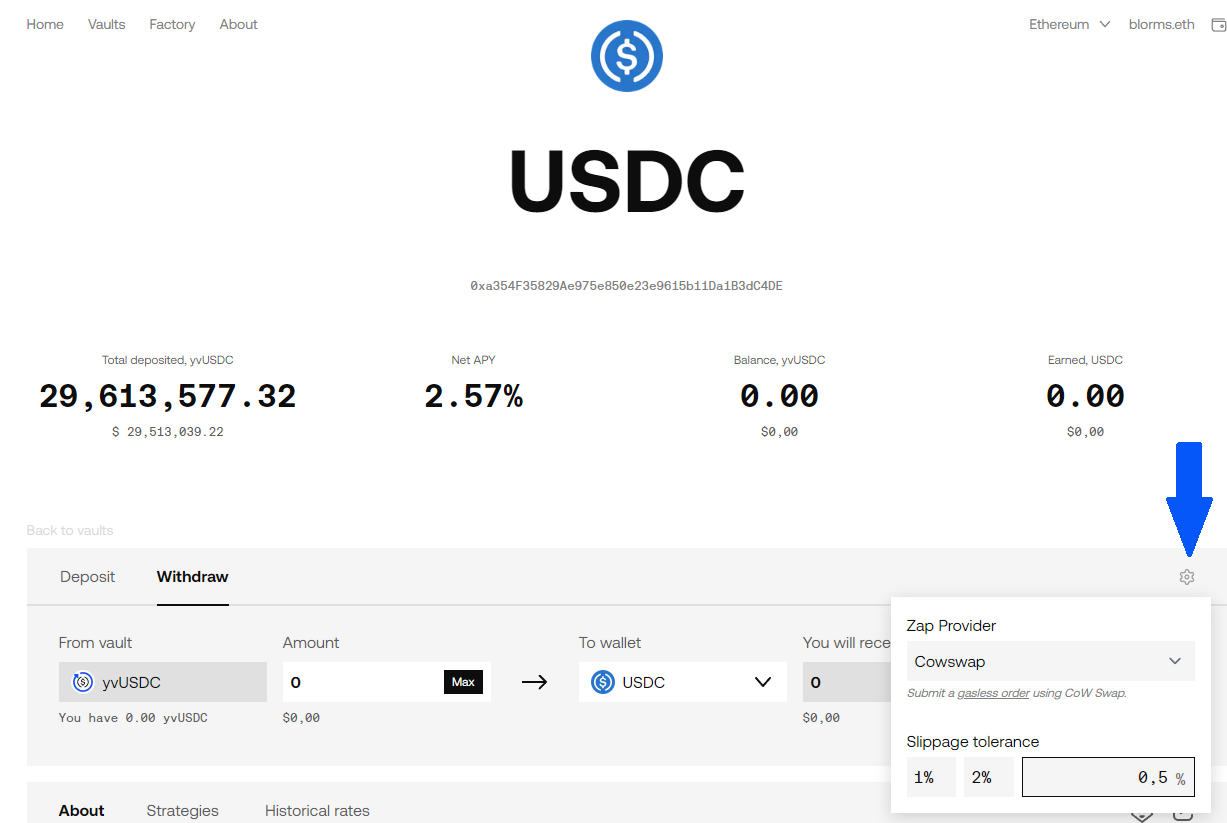
You can change slippage settings in the UI right next to the deposit/withdraw button:
Withdrawing
When you're ready to withdraw:
- Select the vault that you would like to withdraw from. Click the "Withdraw" tab.
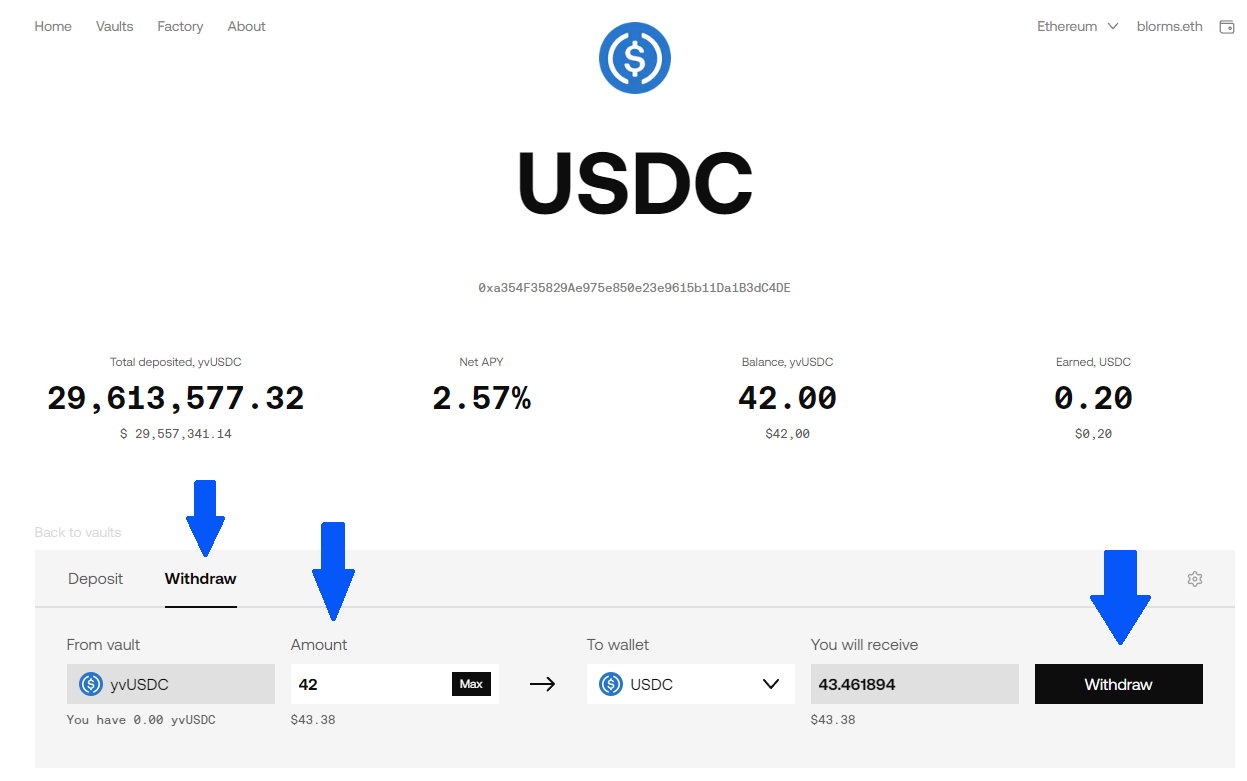
- Enter the amount you want to withdraw, or click 'Max' to withdraw the entire balance.
- Click 'Withdraw'
- Your wallet will ask you to confirm the transaction. See step 4 above for more details.
- When your transaction succeeds, the tokens will show up in your wallet again.
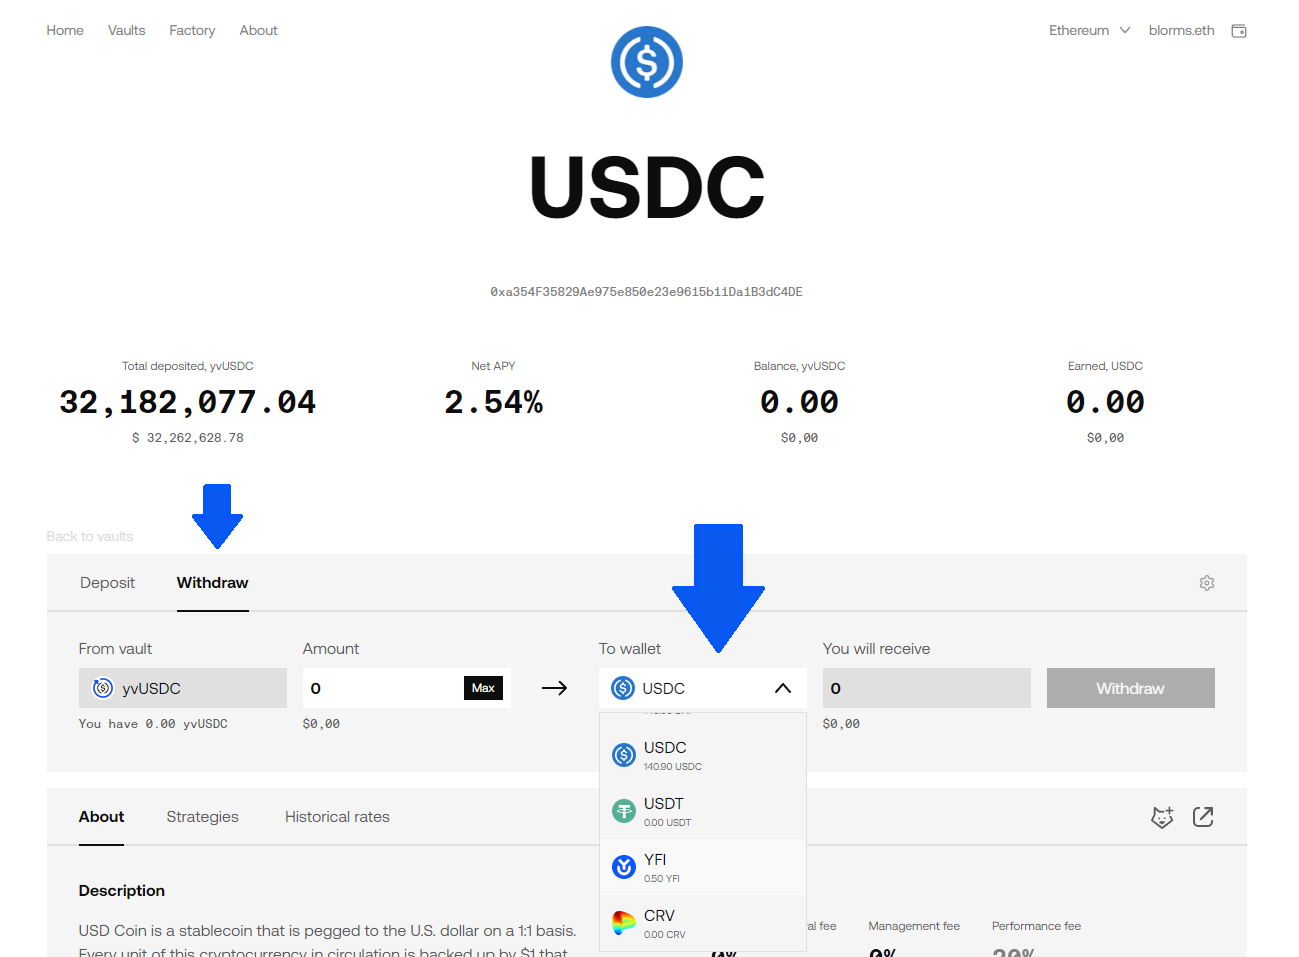
Zapping also works on withdrawal, so you can receive any desired token:
Tools to track your funds
If you would like to see how your USD balance changes while your assets are in a vault, connect your wallet to Zapper.fi or a similar portfolio-tracking product. This is also the easiest way to tell how much profit the vault has made for you.
Your balance WILL NOT increase continuously. Profit will be distributed to your share of the vault when the harvest() function is called, which happens on a fluctuating basis.
Community resources to monitor your returns: